
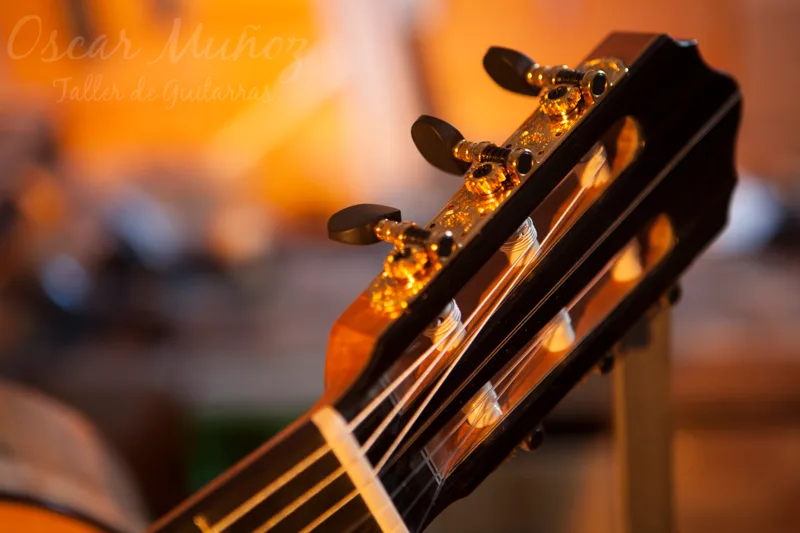
Course on building handmade Spanish guitarsTraditional method for shaping the upper part of the guitar headstock.In this chapter, we will explain how to shape the upper part of the Spanish guitar headstock. The philosophy behind this method is based on the absence of machining using templates and industrial milling machines. We will focus on the traditional method of construction, without using complex and expensive tools, returning to the roots of the craft and placing greater importance on the skill and technique of handling hand tools.VIDEO LINK We will describe a short guide where we will try to channel the method so that our students can develop their skills through some guidelines that will help them discover this manual, intuitive, and tremendously artistic and satisfying method. Work and accumulated practice will develop their ability to execute it.Why have I chosen this method for my course? There are several compelling reasons for this. La primera es que es una filosofía de concebir la manufactura del instrumento, para mi debe ser algo artesanal y esto implica que debemos sentir que construir una guitarra debe ser un ejercicio individual, único y hecho con nuestras propias manos, implicarnos en ello. La segunda es, que a través de la experiencia en mis cursos, casi todos los alumnos no disponen de talleres repletos de herramientas especificas y esto suele ser un problema, montar un taller con decenas de utensilios y herramientas para todos los trabajos que requiere construir un instrumento es complejo requiere tiempo y sobre todo es muy caro.Sustituyamos todo esto por ingenio y habilidad, esto es lo que he visto a través de los años en los diversos talleres que he conocido y visitado, soluciones fáciles e intuitivas, llenas de habilidad y maestría. El camino a la luthería debería ser esto, mas que convertirnos en seres que realizan tareas mecánicas, repetitivas y que al final se convierten en algo que termina por aburrirnos y mantenernos ausentes y esto se reflejará al final del trabajo.La tercera es muy simple, es cuestión de practicidad, desarrollar la habilidad para hacer trabajos de forma manual, de alguna forma nos ahorrará tiempo, quizá no al principio, no cuando nuestro trabajo sea lento y nuestra técnica deficiente, pero cimentará una habilidad que desarrollaremos y siempre estará ahí para ayudarnos a la hora de enfrentarnos a otros trabajos modificaciones o reparaciones que os aseguro que llegarán más pronto que tarde. Este es el camino más difícil al principio pero que a la postre será eficiente y sobre todo satisfactorio y esto hará que progresemos.La cuarta es cuestión de la esencia del propio trabajo, si partimos de la premisa de que nuestros instrumentos se fabrican uno a uno, las plantillas, los métodos repetitivos y la maquinaria pierden de alguna manera su sentido, hacernos ganar tiempo, pues solo es asi cuando se trabaja en cadena.La técnica.En el enlace del video se puede ver como se fabrica la decoración de la cabeza por tanto no voy a volver a describir como se hace, pero si voy a dictar varias pautas a seguir para evitar errores y hacer que todo fluya con normalidad.-debemos tener varias limas bien afiladas con diferentes formas y radios y aprovechar su forma para dar forma a la madera.-A la hora de dar forma no debemos querer terminar alguna parte del todo la primera vez que perfilemos, demos tiempo y vayamos poco a poco asimilando la forma, quedarnos por encima de los trazos nos permitirá rectificar y modificar si en ambos lados no conseguimos la simetría perfecta la primera vez.-primero debemos dar forma a parte delantera donde la madera es más dura y un error será más fácil de detectar y corregir.-es importante no trabajar con la lima a 90º de la pala al principio, debemos siempre dejar un poco de más ángulo para después una vez la forma esté casi lista con pequeñas pasadas terminar colocando toda la forma a 90º con ayuda de una escuadra, si hay errores y lo hacemos así podremos corregirlos.
-When using the file, several aspects of its use must be refined.
We will naturally move the file back and forth, which can cause one of the most common mistakes. We will end up rounding the area, and this is a serious mistake because the curves and angles will not be clean, it will not look nice, and it will be difficult to correct. Therefore, as seen in the video, the file must be held very firmly, and we must prevent it from moving sideways. We will only work forward, making precise strokes without hesitant movements and with the file perpendicular to the blade. This is the most important thing and where we must make the most effort, as it requires practice. Once we have mastered this, everything will be easier.
We must never leave the file static in its path and we must rotate the tool slightly with our wrist. This will prevent marks and ensure a cleaner and more efficient cut.
Sand parallel to the shape using progressive sandpaper grades 120, 180, 249, and 320, shaping the cylinder sandpaper and taking great care with the edges or corners.
And finally, never round off the edges at the end, as they will always be a very good reference during the process. Remember, practice makes perfect, so be patient and skillful, because with time and mastery of the technique, it will become enjoyable and quick.
I hope that through this reading and the video, you can identify the method and put it into practice.